Geothermal HVAC Part 4: Costs, Savings, and Performance

Leave a comment

Costs

Tim might be upset with me sharing the costs,  but in my research it was kind of hard to find hard numbers and you should really know what you’re getting into before you waste people’s time.  The initial quote did not include electrician work nor yard work.

  • $48,500 for the drilling, ductwork, old system removal, and the ClimateMaster units.  Remember, our home was 4000 square feet and required two ClimateMaster units.  Your home, if smaller, could be less drilling and 1 less unit.
  • Roughly $2000 for the electrical work which was not included in the quote
  • Roughly $2000 for the yard work to replace bushes and rake and loam the damage property.
  • All this is covered by the Federal %30 Tax Credit!  (Credit not deduction), so the net install cost was around $37,000.

Performance and Savings

Early, but not complete returns are in.  Over the summer, compared to last year, it looked like I used 20-25% less electricity than the months of the previous year comparing 2012 to 2013.  My November 15th-December 15th electricity usage (3205 kWh) was about 2.5 times more than the time period last year (1300kWh).  Our total electric bill for this period was $320, so you figure about $200 for heating over that decently cold time period.

January and February 2014 were the most brutally cold months we’ve had in years and years.  Sub-zero  (below 0 degrees Fahrenheit) temperatures for often  days at a time and I don’t think we had a day warmer than 20F.  The system has 3 modes of heating.  Heating 1, which is ultra efficient.  Heating 2, which is full capacity, and Heating 3, which is auxiliary heating that uses additional full electricity to generate heat. The auxiliary, 3rd stage heat kicked in a few times when it when it was negative temperatures.  Still, with our geo system we were paying about $400-$500 a month.  Compared to the previous year (which was much warmer) we were paying > $1000 per month in oil for January and February.

Our total oil heating bill generally averaged about $4000 per year (October-April).  So, for a nice SWAG, you figure we’re saving about $3000 per year if you include the summer months savings too.  At todays prices, the pay off for the system is about 12 years.  BUT…Because my old system was so old and needed replacing anyways, I factor that cost into the equation as well, so the payoff is probably even shorter.


Geothermal HVAC Part 3: Installing In House System

Leave a comment

In this section I’ll talk about the work that had to be done inside of the house.

Our old system

Our old heating system had different forced-air ductwork than our cooling system.  The heating system used 1 oil burner with ductwork that went to both the 1st and 2nd floors coming up through vents in the floor.  The cooling system had an outside condenser that ran coolant through a pipe up to a blower in the attic.  The cooling system’s ductwork was separate from the heating and ran through our attic.

Our new system

For our Geo system, our guy decided to re-use the old heating ductwork to heat and cool the 1st floor.  The old heating ductwork for the 2nd floor was sealed off and not used.  The 1st floor ductwork was connected to a Water-to-Air ClimateMaster TTV064.  This unit was put in our basement where the old oil furnace was.

For the 2nd floor, the old cooling system’s attic ductwork was re-used.  A new blower was installed in the attic.  The coolant pipe used to connect the old blower to the outside condenser was also re-used and connected to a Water-to-Water ClimateMaster TTS038.  This unit was also put in our basement where our oil tank used to be.

Other work and Total Time

The attic ductwork was wrapped with additional insulation.  It also took some time to remove the oil tank, disessemble and remove the oil heater, old blower, and A/C condenser outside.  All and all, removing the old stuff and installing the new units took another 2 weeks beyond the drilling.

Geothermal HVAC Part 2: Installing The Loop

Leave a comment

I’m finally getting around to finishing up my write up on my Geothermal HVAC install.  In Part 1, I discussed why I was doing it and how I was able to get a quote.  For Part 2, I’ll talk about the outside drilling and close loop install.

The outide work took about 2 weeks to do and entailed drilling 3 bore-holes 350 ft deep, laying pipe in these holes, digging a trench to connect the holes, drilling into your foundation to bring the pipe into your home, and finally filling the holes and getting rid of extra material.  Be prepared for a part of your yard to be destroyed.  We required an area about 50’x30′.  The bushes in front on the left side of our house all had to be dug up.  The holes were about 15′ apart starting from the left side of the house .  While the holes themselves and the pipe connecting them only required a 5′ wide trench, there is a ton of material that comes from both the drilling and the trench that ends up taking up and piling up on the rest of the 50’x30′ space.  When everything was buried and that side of the lawn leveled out, we ended up having a lot of left over dirt which was spread out and dumped and packed in a different 20’x20′ area in our woods (yes we have a lot of acrage).  I must tell you, I was a bit freaked out by the damage to our lawn at first, but after only a few months you won’t even know drilling actually happened.  Nature repairs itself quite quickly!

photo

The drilling equipment was quite large.  The drilling was done in late April and our yard was still quite muddy from the Spring thaw.  While they did put boards down on the lawn they left some deep tracks driving in that had to be repaired in the front of our lawn.  Also notice how close to the house they had to get.  This was fine btw!

photo(1)

This is the material left over from 1 borehole drill.

photo(2)

Here is the pipe they put into the holes.

photo(4)

photo(3)

Here is the trench they had to dig to connect the boreholes together and feed it into our house.  The trench was about 5′ deep and about 5′ wide.  They also drill into your foundation 5′ down to get the closed-loop pipe feed into your home.

Geothermal HVAC Install: Finding a Contractor

Leave a comment

We have a 23 year old central air heating and cooling system in a small semi-rural town in Massachusetts.  My cooling system is pretty much on its last leg, but the oil-burning furnace could probably last another 5-10 years.  We do not have any natural gas lines in our neighborhood.  Our home is 4000 square feet.  The insane oil and electric prices circa 2007-2008 led me to research and think seriously about putting in a Geothermal Heat Exchange system in our home.  I decided to pull the trigger in the Fall of 2012.  Now today, they’ve started drilling, so I thought I’d start blogging about it.  You can find a lot of information online about Geothermal HVAC systems, but I could only really find partial descriptions of installs and costs for these systems from actual home-owners.  So, maybe this detailed beginning to end description of the whole process might be useful to somebody.

Why do I want Geothermal?

  • I have to replace my existing, ancient, heating and cooling system anyways
  • Overall energy cost savings.  The install expense over traditional A/C and oil will be paid back over time with the lower cost in energy to run the system.  How long does it take for the system to pay for itself?  Seems pretty variable. 5-15 years depending on the location, size of home, and quality of install.  I’ll get back to you all a year from now to compare the savings from my original system.
  • Improved air quality in home
  • No more worries of carbon monoxide as I wouldn’t be burning anything anymore.
  • Maybe help resell value.  At least make my house more interesting when trying to sell it if I ever move.
  • Quieter
  • I get to be a good Democrat and help save the planet 😉
  • The technology is just cool.

Finding a Contractor

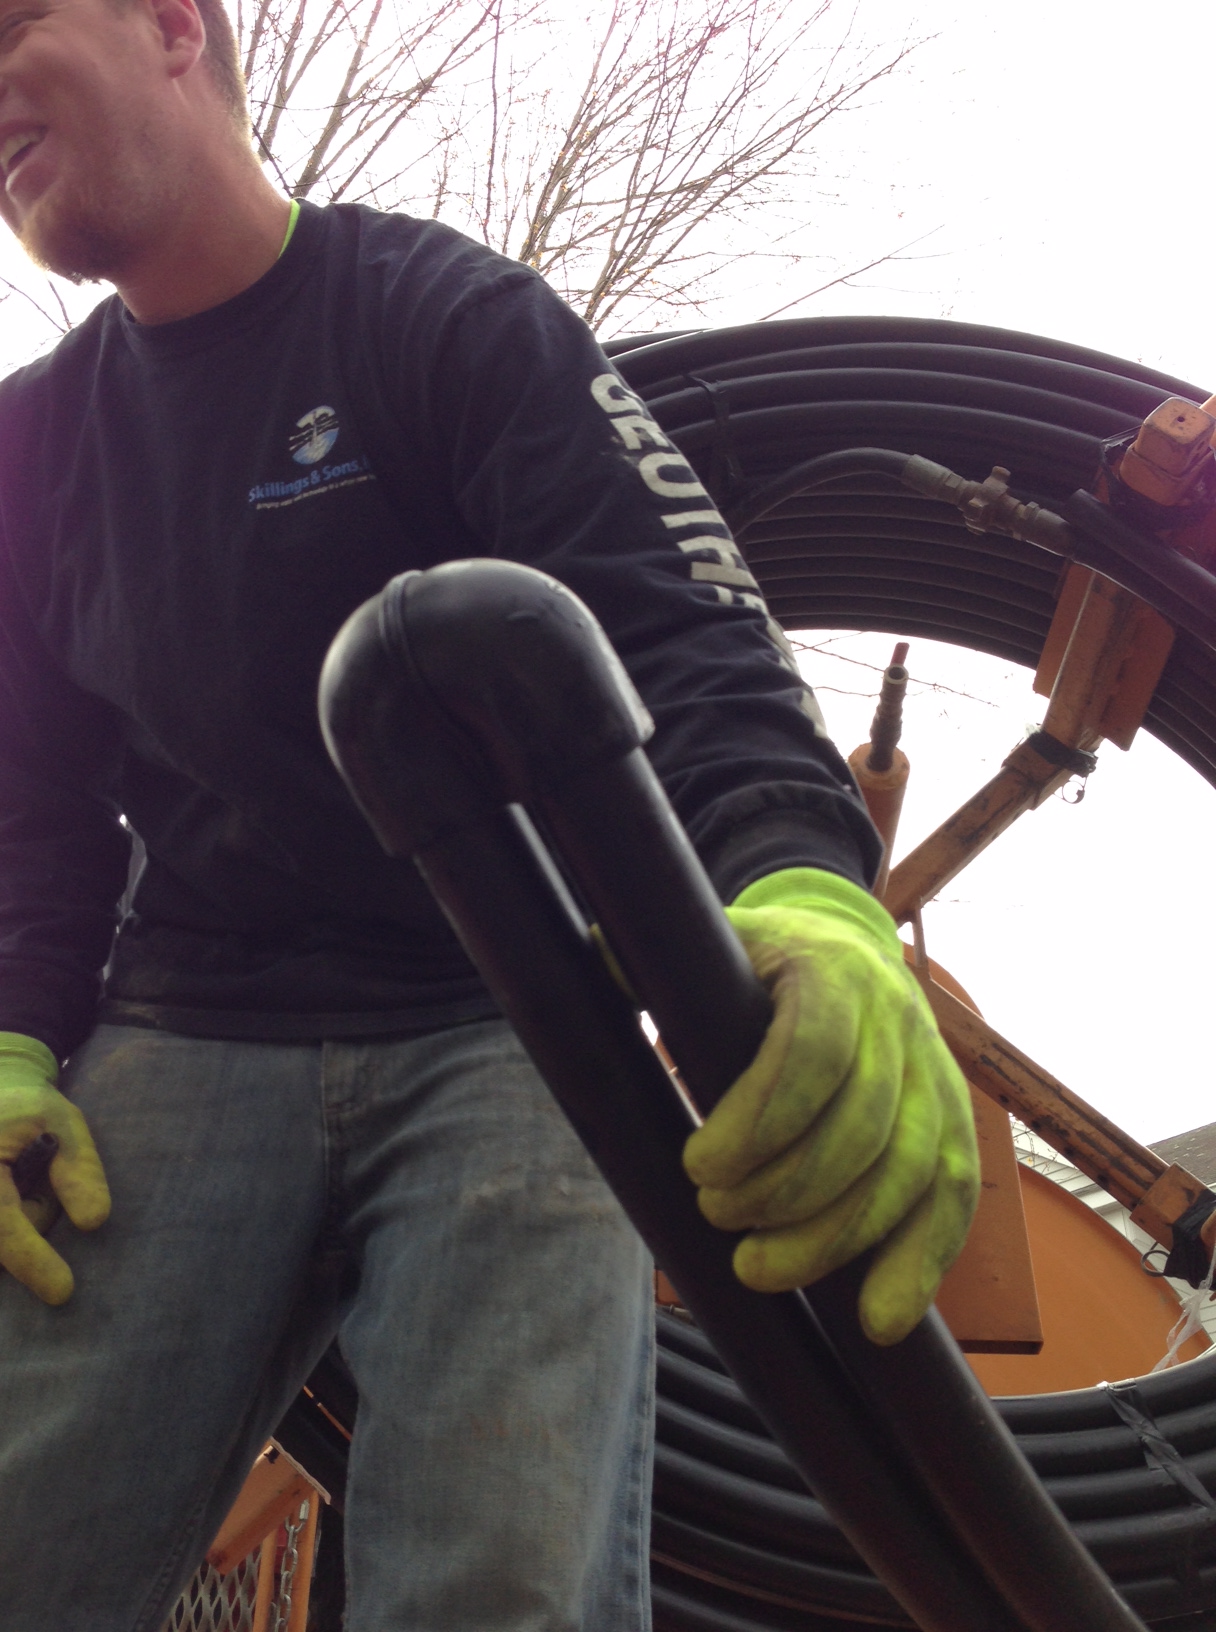
I had been procrastinating on pulling the trigger on a Geo system since 2008.  We use a well for the water to our home.  Last summer, the underground pump for our well failed and had to be replaced.  We called up the original drillers of our well, Skillings and Sons, to help us out and they were here for a day installing the new pump.  I got to talking with one of the drillers asking if they had ever done a Geo system in an existing home.  The driller I talked to was awesome.  I wish I could remember his name.  He went into tons of detail with me on what was involved, what type of system (open vs. closed loop) I should get.  How much area they usually needed to dig.  What the install would look like.  How a Geo system worked, etc.  The guy basically sold me.  So, I decided to start the process going.

I must say, it was kind of hard finding a contractor to do this.  Maybe it was the time of year (August, September).  I also think that most homeowners are ignorant of the significant install costs of a Geo system and contractors might be a little reluctant to put time into a detailed quote because the homeowner might balk.  I got the names of a few local guys from Skillings.  I pinged my company’s internal mail list, and one Red Hatter gave me the name of a guy that did a geo system for her home in New Hampshire.  I’ll list them here:

  • Redmond HVAC.  Recommended by Skillings & Sons.
  • Energy Smart Alernatives.  Found them on the Internet.  They have a great website and had a nice Facebook with detailed pictures of their jobs.
  • Bill Wenzel Heatng and Cooling.  He did a system for another Red Hatter in New Hampshire.  His name came up a lot in web searches too.  Seemed to have the most geothermal experience out of all the contractors.

I pinged two other contractors, but never could get a response from them.  For Bill Wenzel I had a hard time getting him to answer an email or phone call.  We talked  a little bit over the phone, got some rough cost estimates, even faxed him a layout of our home so he could do a detailed quote, but I never heard back from him.  Too bad, because he got a really good recommendation from a co-worker of mine.  Energy Smart Alternatives came out to our home to do an estimate.  They were professional enough, but I ended up picking Tim Redmond of Redmond HVAC.  Both had done systems locally, but Redmond HVAC had a significantly lower price than Energy Smart Alternatives and costs in line with the rough cost estimates I talked over with Bill Wenzel and research I had done over the Internet.  Honestly, I think if I had had a similar quote from all three, I would have picked Tim because of his Skillings & Sons recommendation and the amount of care and time he took answering questions and putting together the estimate.  I’m writing this blog as the system is being install, so I’ll write some overall opinions at the end.

So, if you already have a well for water, I suggest pinging your driller to see if a) They do Geothermal installs (they probably do) and b) can they recommend somebody local.  At least when I did an internet search, a ton of people came up in Massachusetts, but it was hard to figure out who was reputable or not.

The quote

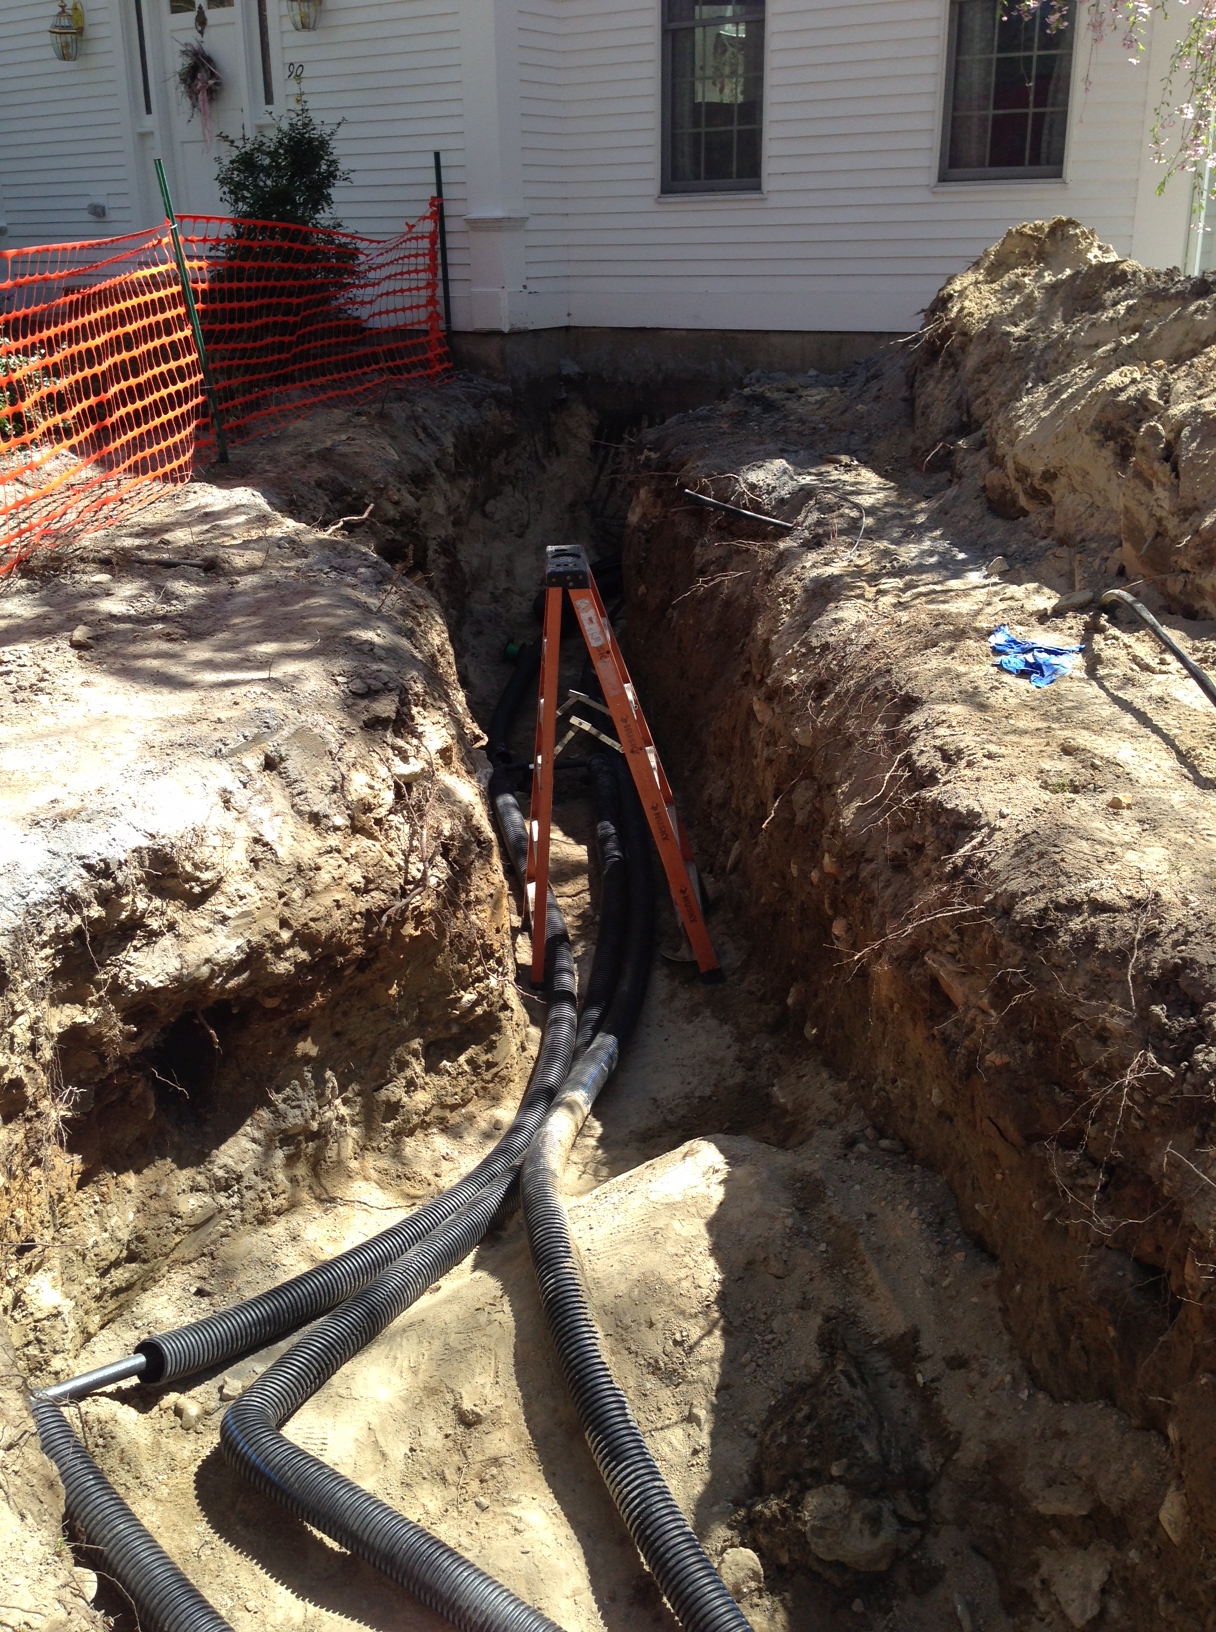
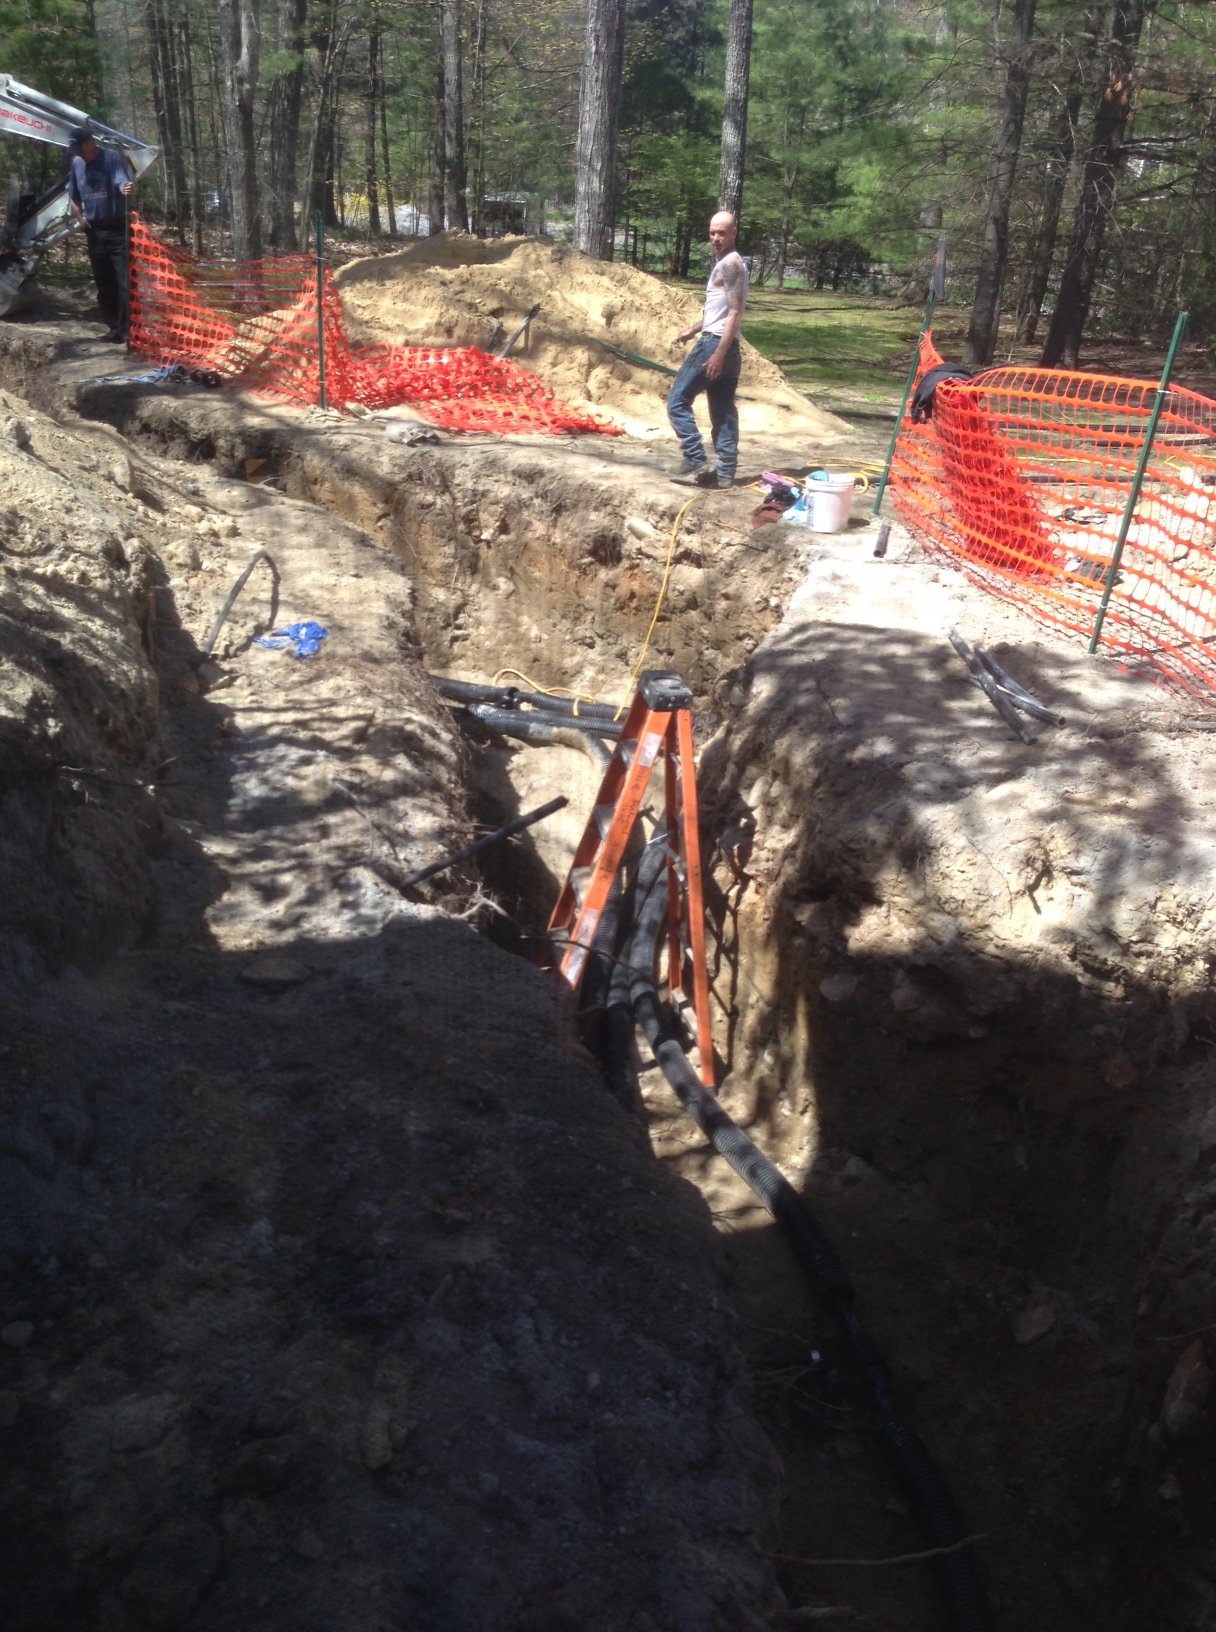
4000 square foot home.  Closed loop. 2,  4 ton Comfort Aire units.  A little duct work, but almost all of it would be reused.  Removal of furnace, A/C, and oil tank.  3, 375ft. vertical bore holes.  One 15 ft from house, 2 others 15 feet from each other.  Cost?  A little under $50k before the tax credit of 30%. Honestly, would not have done this job without the federal tax credit of 30% which ends in 2016.

Closed Loop vs. Open Loop

Both Tim Redmond and Skillings recommended a closed loop system.  You might be able to save a little bit more with an open loop system, but there are some issues with them.  My opinion is that closed loop is the best because any future maintenance on the system is done entirely in your home.  You dig the hole, put in the HDPE pipe, bury it, then forget about it.  Should last long after I’m dead.  Open loop has all the same issues as a regular well.  The pumps can fail, and then you have to deal with going in ground to get them.  Here is a good article on other problems you can have.

Can your home do Geothermal?

Another core issue with Geothermal is, can you install within your existing home?  Do you have the acreage for it?  Can you re-use the duct work?  Are there any utilities that would impede drilling?  Those are just some of the questions you’ll need to get answered by any contractor you pick.

What’s next?

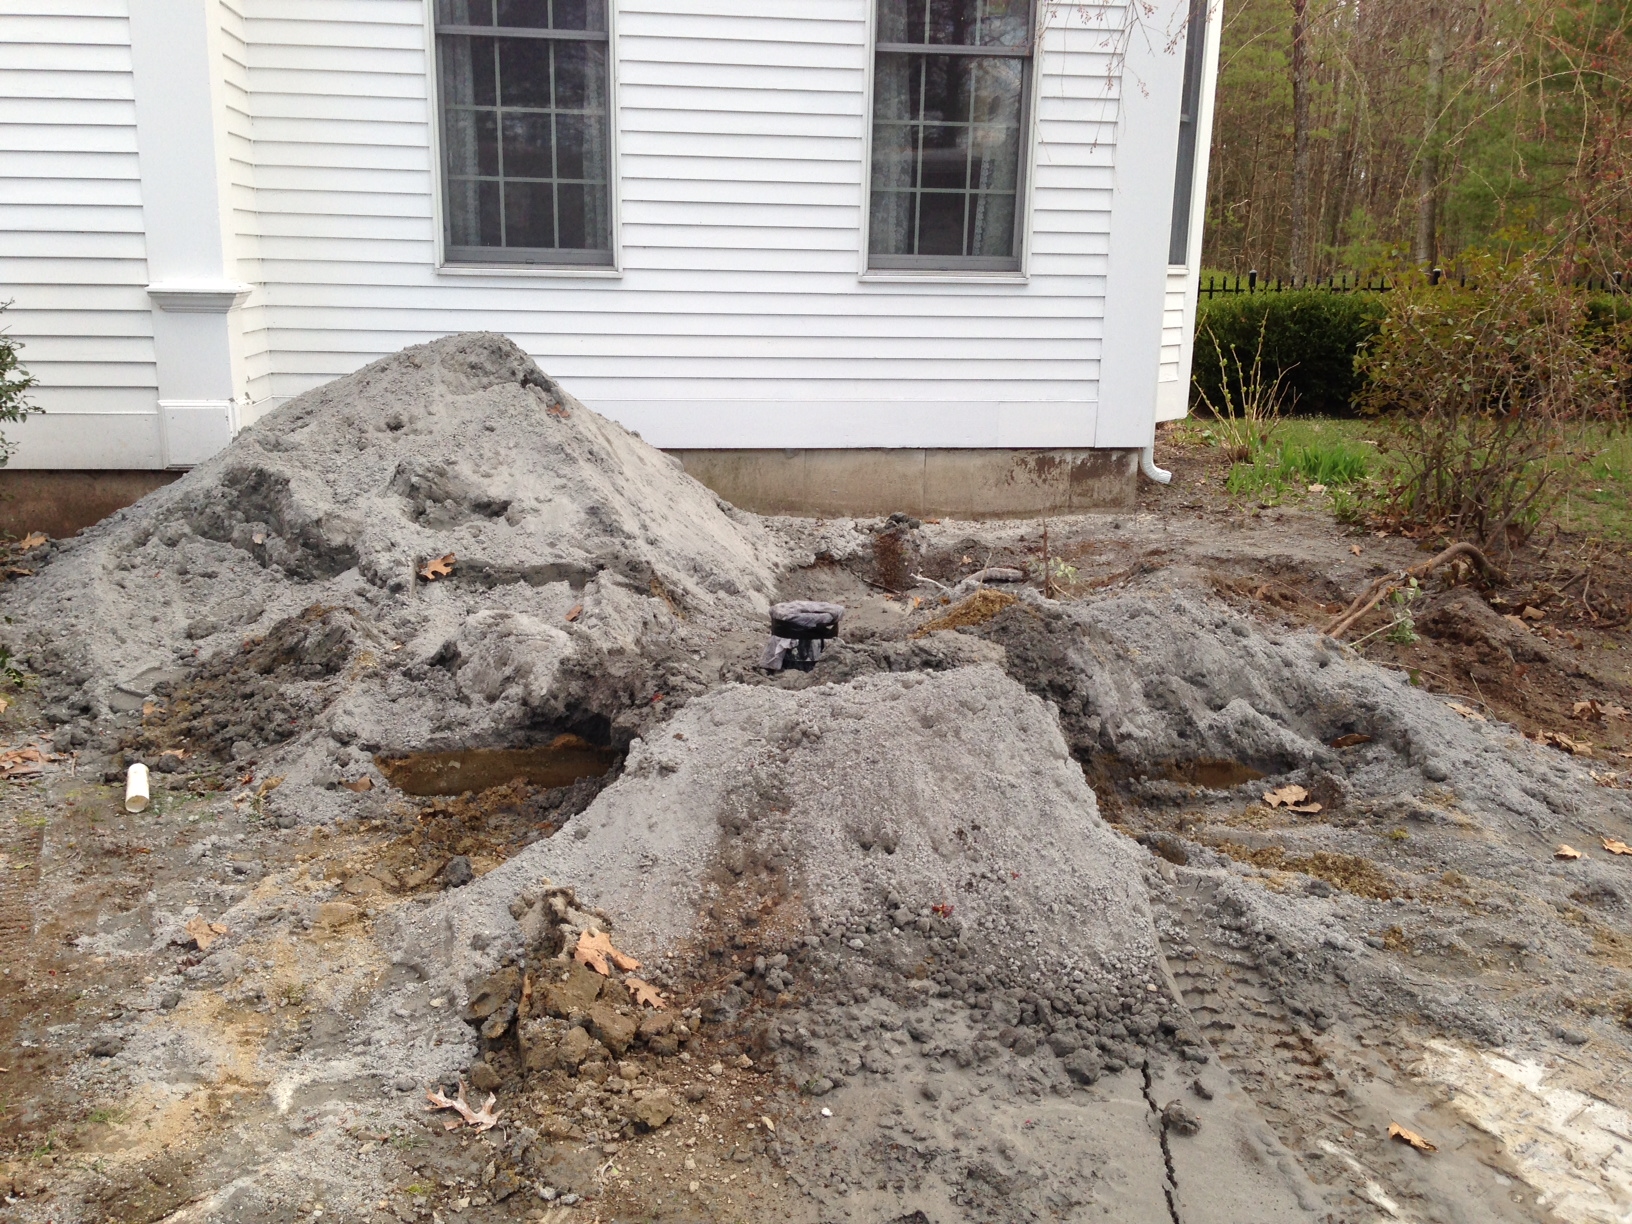
So today they finished 2 of the 3 vertical bore holes.  My next blog I’ll describe the whole drilling process and post a bunch of pictures of what they had to do.

%d bloggers like this: